Building an arcade stick case fast
/TAKE YOUR TIME, USE THE TOOLS AS INTENDED, BE ESPECIALLY RESPONSIBLE USING TOOLS DESIGNED TO CUT, ASK QUESTIONS BEFOREHAND, RESPECT TOOLS THAT AREN'T YOUR OWN, AND SAVE TIME BY MEASURING TWICE AND CUTTING ONCE.
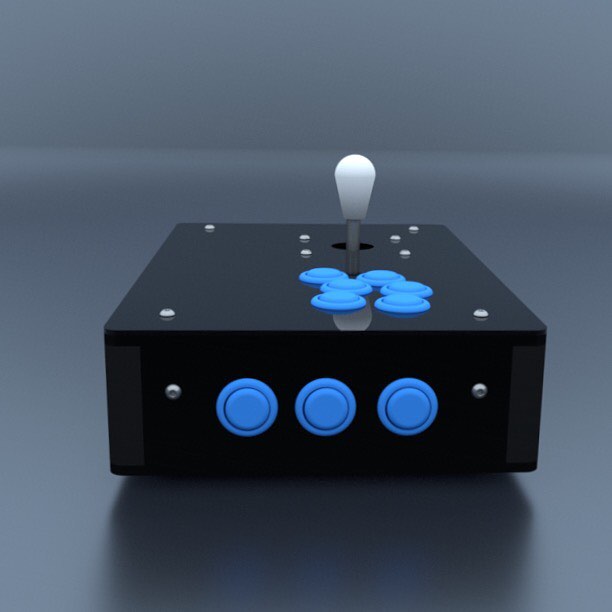
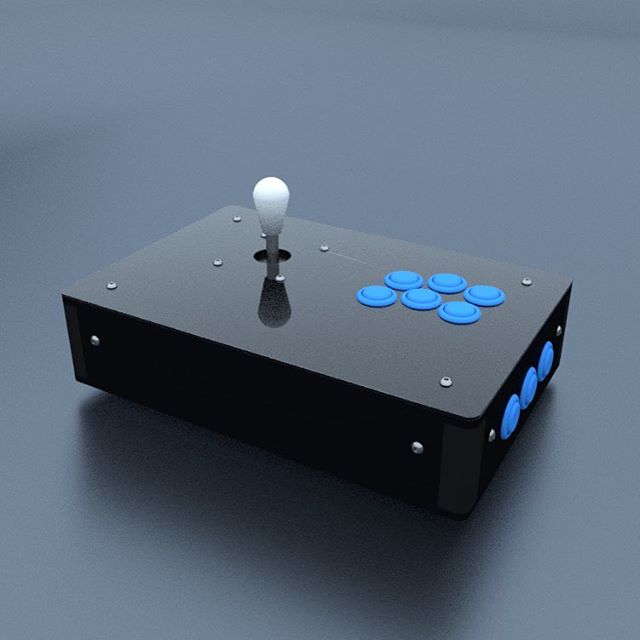
UPDATE 3 May-26-2016: Stronger, sleeker, and easier to build. The newest version of the DIY controller
UPDATE 2 Jan-23-2016: The latest quick and simple DIY arcade controller build can be found here
UPDATE 1 Nov-11-2015: A lot has happened since writing this blog post. We've developed digital blueprints for a simple fightstick build. Check it out here
Shameless Plug #1: Order a small Arcade Stick Frame Me

Shameless Plug #2: Order a Large Project box from me
This post is written to be a simple guide to make your own arcade stick case quickly and cheaply. Conventional arcade stick cases are expensive because they’re made in wood and by hand. Since the case is nothing more than a box the hardest part of making an arcade stick is choosing from the thousands of possible ways to make a box. Here are a few ideas to get you started DIY style.
| Method | Cost Estimate | Comments |
|---|---|---|
| Cardboard box / Tupperwear | free | Only need blade and tape |
| Scrap lumber, screws/nails | free | Needs basic wood working tools: saw, drill, files |
| 3D Print + scrap wood | free* | 3D print file, help design parts |
| 3D Print Frame | free* | Need file, and a 3D Printer |
| Hinged wood box | $5+ | Minimally a drill and rotary tool for button holes |
| Laser cut frame: | $60+ | blueprint here, large pre-built, small pre-built |
| Custom joystick case | $100+ | www.foehammershop.com is a great place to start |
Button layouts
First, choose a layout to define the dimensions of your box. Slagcoin.com is a great resource for all things DIY case construction and their button layout section is quite complete. Simply scroll down and choose from one of their layouts. Print/draw it on your box and see if it's comfortable.

Cardboard or plastic food container
You can’t beat free and this is the best way to install your hardware ASAP. A box cutter is all you need and practically any tape can be used to secure the components, just make sure it’s not electrically conductive. If you’re fancy, you’ll add washers to spread out the pressure from the screws on the cardboard. Go over the entire box with more tape for durability. The sky’s the limit…or the ground since it’s dirt cheap.


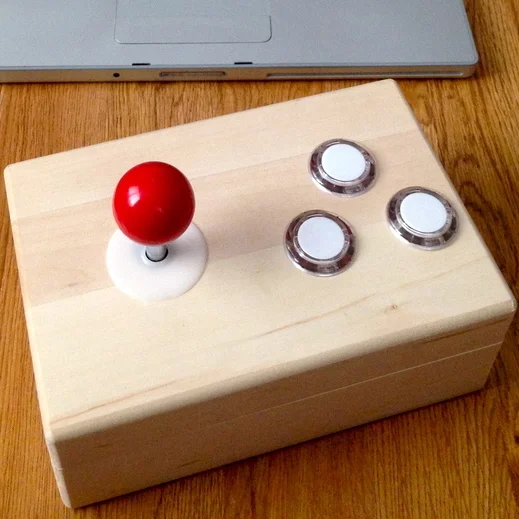
Scrap lumber
If you’re handy in the wood shop, this is probably the best solution to making an arcade controller case. If you know how you’d like your arcade stick to look, I’d suggest jumping straight into the nitty gritty details at SlagCoin here and start measuring material you'll need. However, sometimes taking inventory of what’s around you can save you a lot of time and money.
My first arcade controller consisted of scrap MDF and 1.5mm aluminum sheeting that was being thrown away. I used the biggest drill bit I had to make the holes and then went back over with a rotary tool to get them to the right size. Rotary tools work really well with MDF. For the sides I had access to a metal brake so I made long U-brackets in a few minutes and used nuts and bolts to fasten them to the top. Finally, the back was hot glued in place which works very well with MDF. I polished it off with a 3D printed electronics cover to hide my terrible cut, and clipped a marker to it so my friends could draw on it between games. It looked and worked so great I didn’t bother making a bottom until over a year later. The scrap lumber method is only limited by creativity and tools available! Think minimalist.


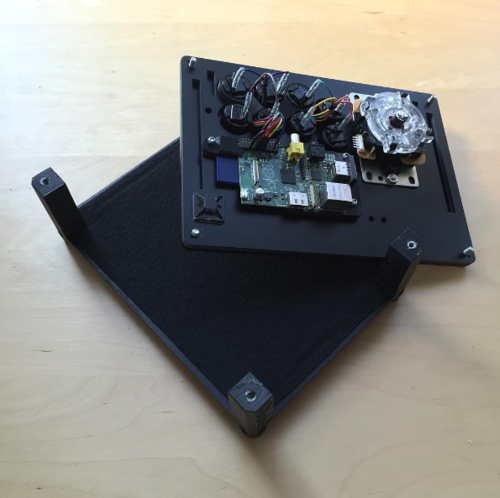
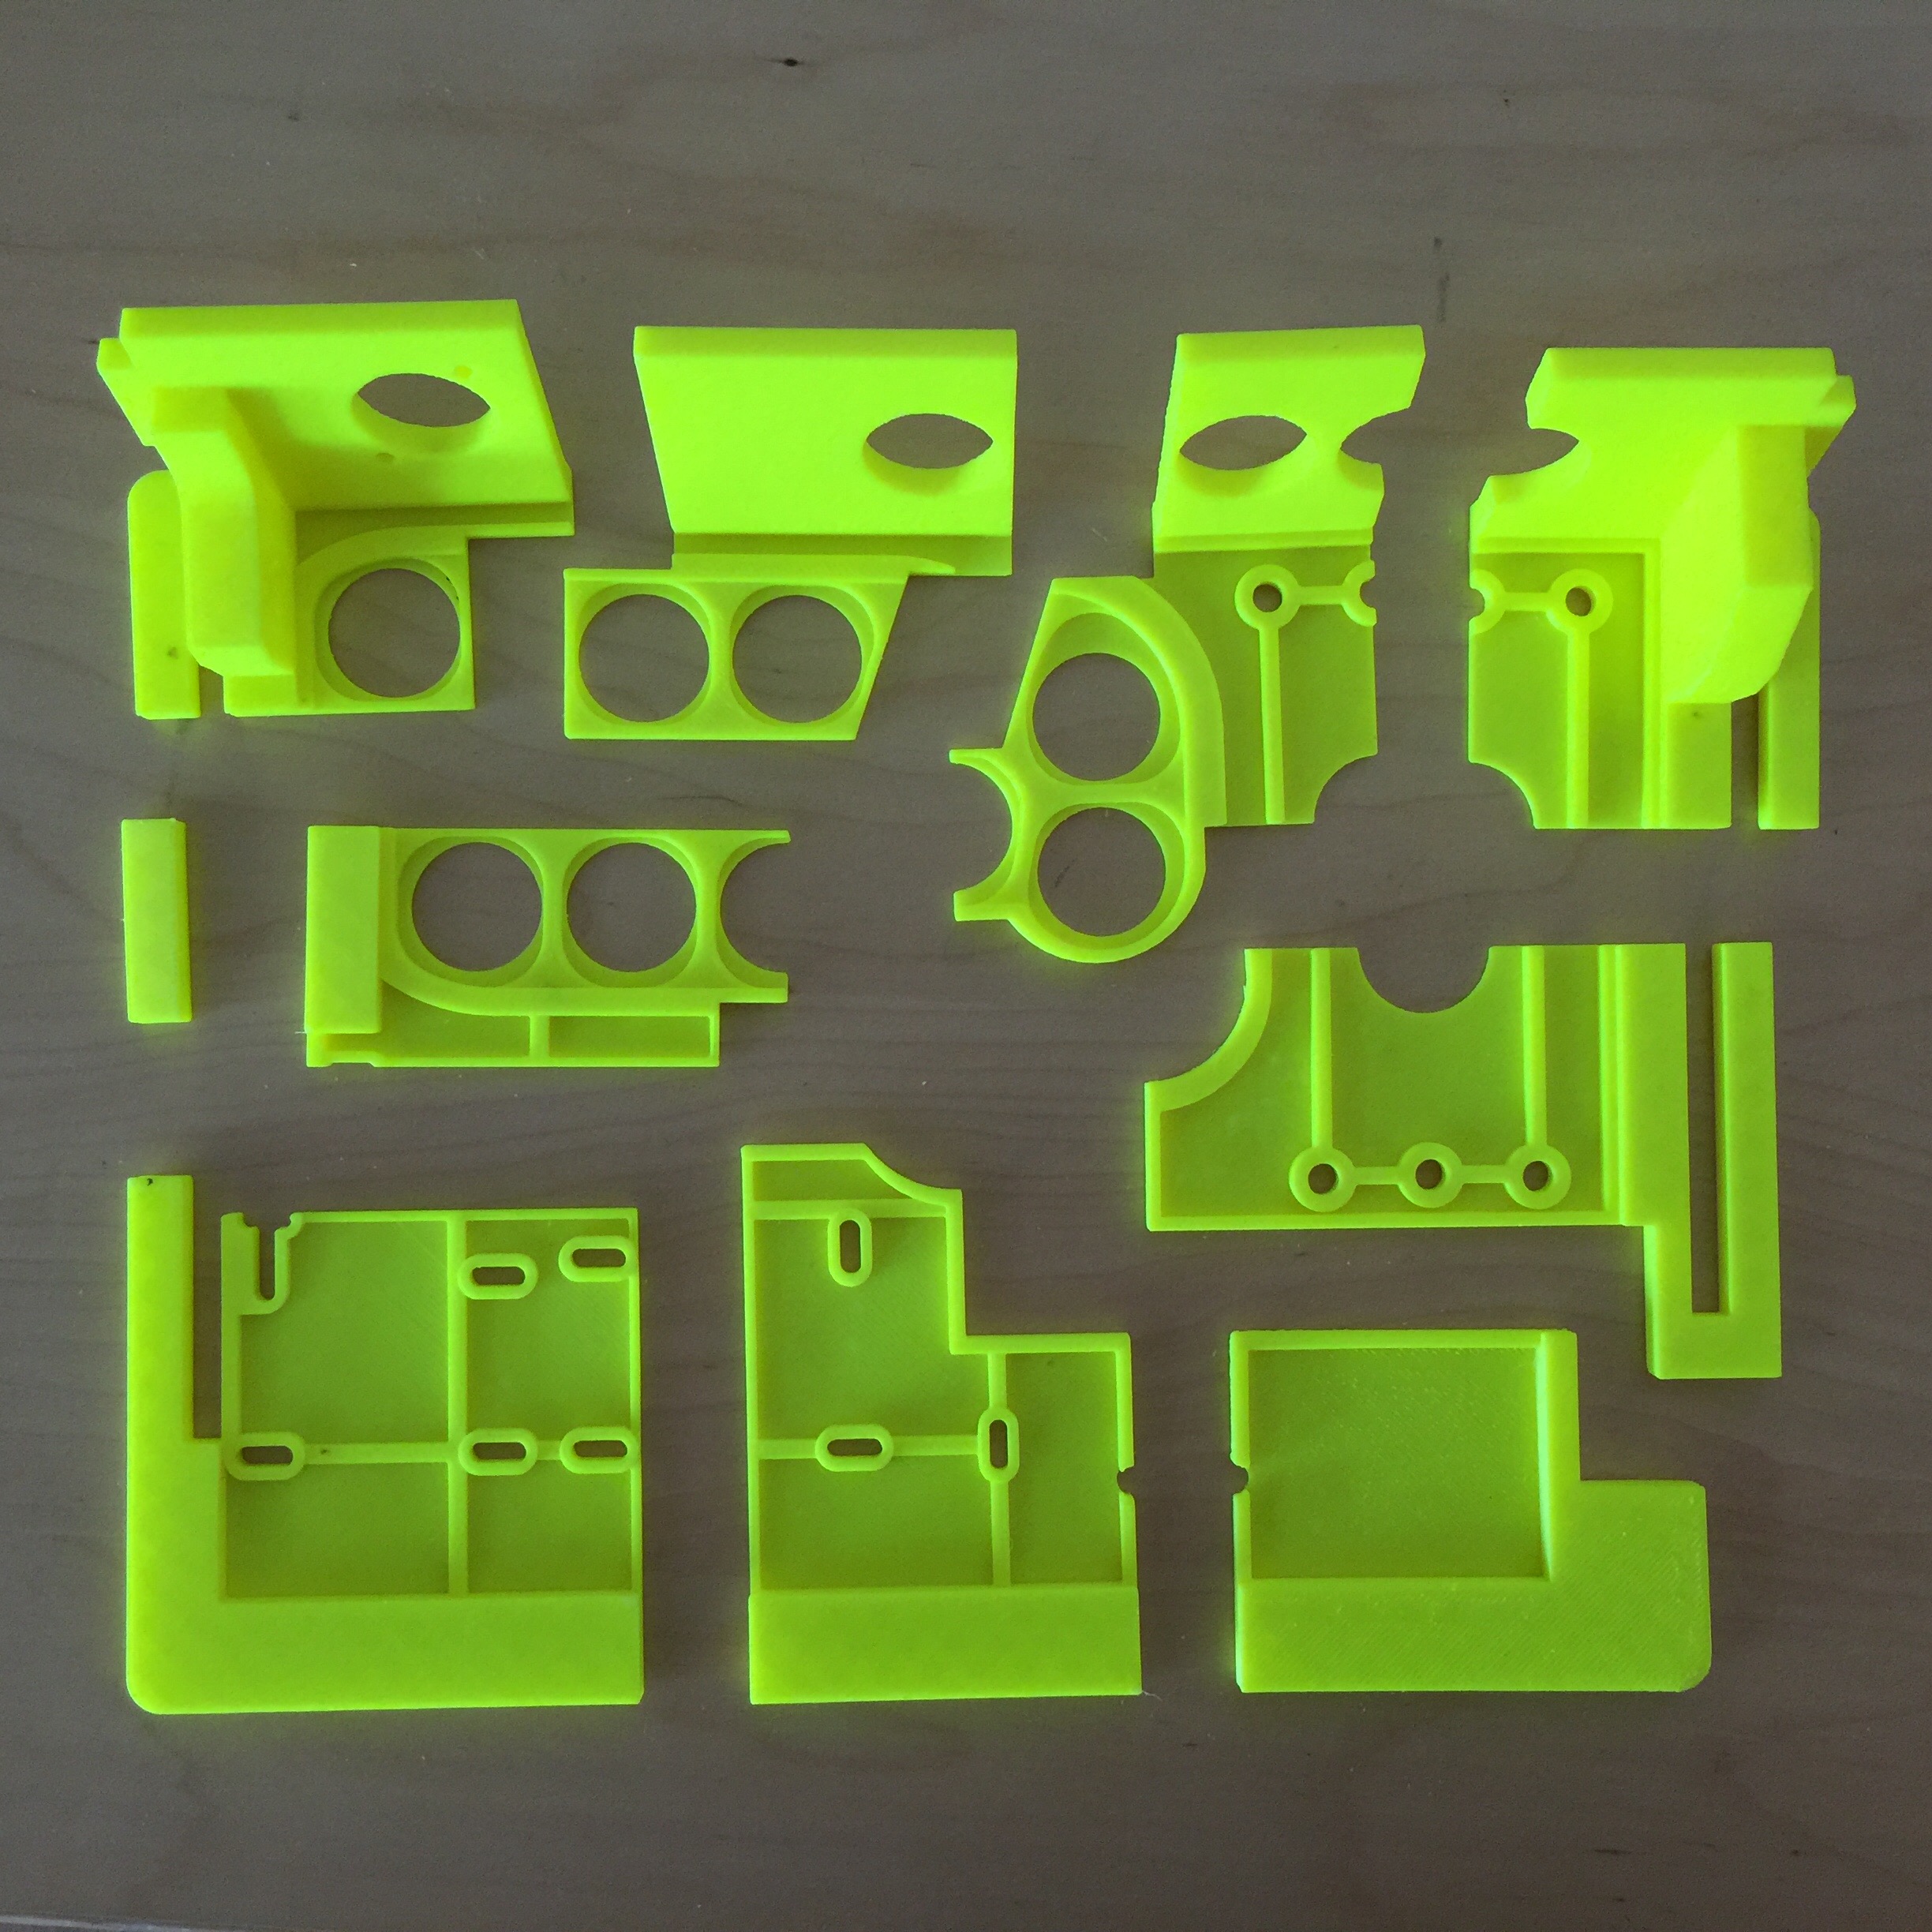
3D Printed (Update 4/29/2015)
Another shameless plug is the possibility to 3D print the frame like we did. If you have time and access to a 3D printer, it's both cheap and almost infinitely customizable. Check out our writeup of the process using a consumer desktop 3D printer:


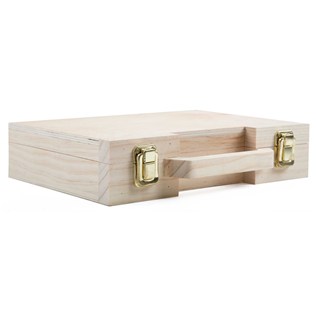
Hinged Wood Box
A fair middle ground between saving time and money, pre-made wooden boxes can be found at most craft stores and really inexpensively online. Besides being a great jumping off point for your custom arcade stick, having a hinge makes fixing, improving, and modifying your work painless. If you like things clean but are on a tight budget, save yourself the headache and use one of these. The important part is not having a stick fall apart on you while button mashing and starting from a mass produced box guarantees some level of craftsmanship that won’t fall apart on you.
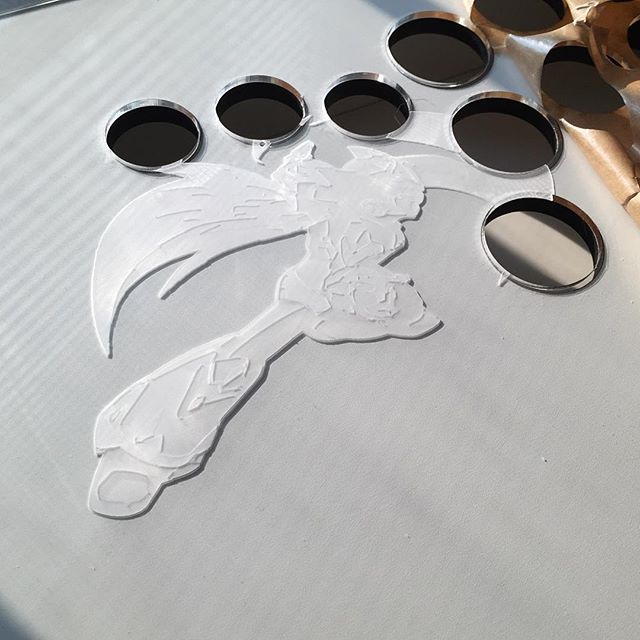
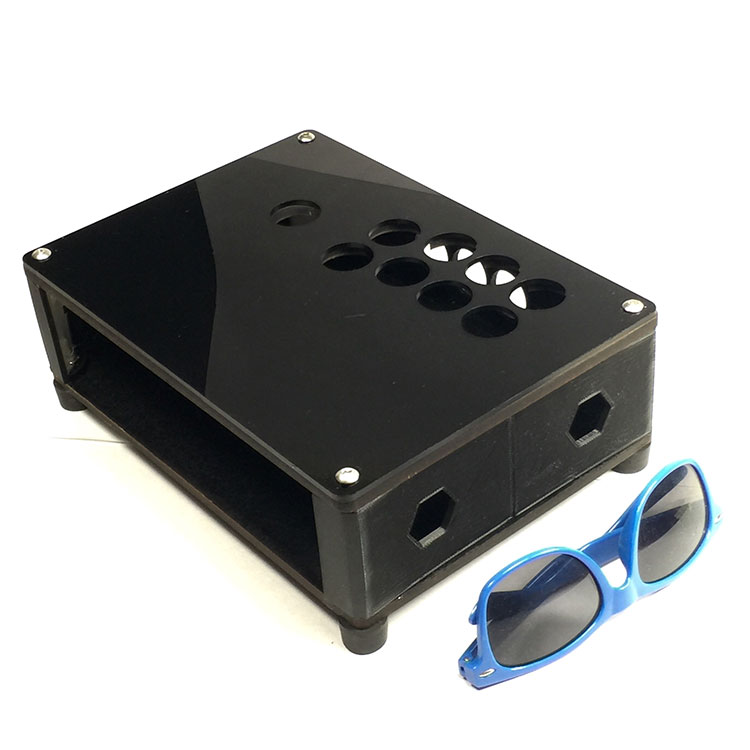
Laser Cut Frame

Order the digital files here!
This is personally my favorite because lasers and it's been a project of mine for many years. There are many online services that laser cut woods and plastics for you, such as Ponoko, or if you have access to a laser cutter, like at TechShop, you can do it yourself. The hard part is creating the files for the laser cutter. At Cuddleburrito, we use 3D modeling software to create the assembly, then export that into 2D vector drawings that any laser can follow. One advantage of this method is being able to perfectly measure the clearance for all the components before making anything so that you're sure it's going to work. Moreover, little modifications can be made throughout the design process as improvements are found and iterated upon.
Check out some of our laser cut frames from January 2015. They're a mix of MDF and cast acrylic, made at TechShop. The frame is a 3D CAD model that is exported to 2D shapes for laser cutting in Illustrator. It's the cumulation of several years of designing various arcade frames.


Resources:
If you know how you’d like your arcade stick to look, I’d suggest jumping straight into the nitty gritty details at either of these resources to get going. There's no one correct way, it's largely a matter of what tools you have available or are willing to buy.
Slagcoin : Essentials in putting together a custom arcade controller

Follow our DIY Arcade controller assembly of the Gamething frame here