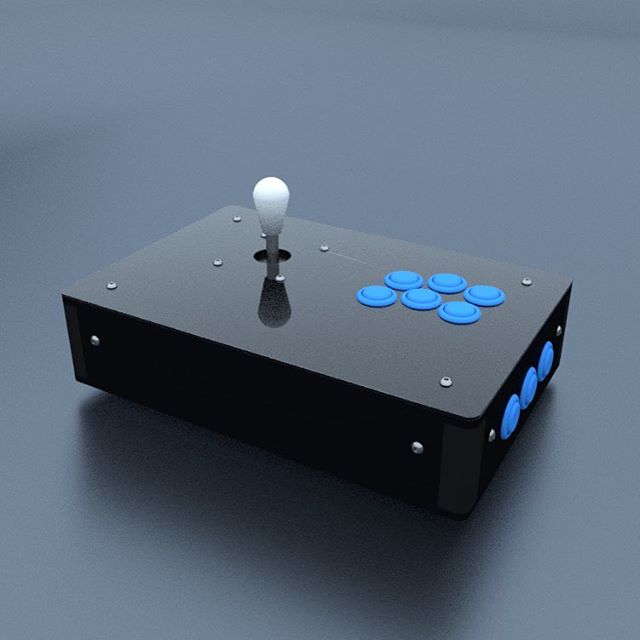
Keyboard emulation using GPIO pins and arcade buttons on Raspberry Pi
/
An RPi 3 mounted under the arcade controls is streaming the Nasa channel using the open source HTPC software, Kodi
Software is needed to interpret button connected to the Raspberry Pi's GPIO pins as keyboard keys . Adafruit's simple library is free and quick to setup. However, the script must be run every time, so adding it to Raspbian's startup scripts allows the arcade controls to be automatically available on boot.
Start Here:
First, connect one GPIO pins to each button, and daisy chain the other button pins to one ground pin. My simple wire crimping guide can be found by clicking here.
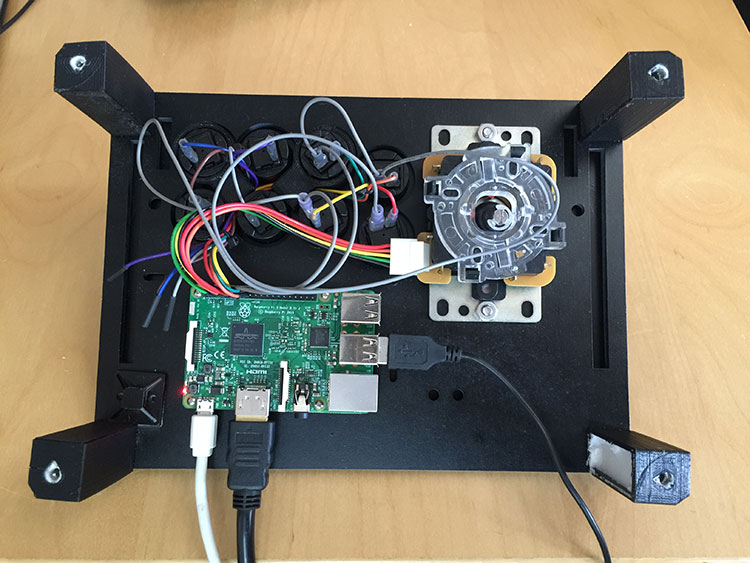
Since the joystick came with a harness, it's connected to it's own ground GPIO pin. The buttons share a seperate ground pin connected by the grey daisy-chained wire harness.
The number in the Adafruit code refers to the GPIO number, Not the pin number
Download adafruit library zip: https://github.com/adafruit/Adafruit-Retrogame which is documented for their build here https://learn.adafruit.com/retro-gaming-with-raspberry-pi/buttons
Using Adafruit's code as a starting point, the pin-button pairings were modified for my uses in Kodi, an open source HTPC software package. However any keyboard key codes can be used. I used this list to figure out what I needed: Linux input event codes
In retrogame.c, the ioStandard array values were modified to the following values:
ioStandard[] = {
    {   2,     KEY_LEFT     },   // Joystick (4 pins)
    {   3,     KEY_RIGHT    },
    {   4,     KEY_DOWN     },
    {  17,     KEY_UP       },
    {  27,     KEY_ENTER        },   // Enter
    {  22,     KEY_BACKSPACE        },   // Back
    {  23,     KEY_KPPLUS        },   // Volume-Up / numpad +
    {  18,     KEY_MINUS        },   // Volume-Down / numpad -
    {  -1,     -1           } }; // END OF LIST, DO NOT CHANGE
If you add more GPIO pins / keys, make sure you check which pins are compatible (e.g. 8 and 10 will not work as they're reserved for another purpose).
Then compile into a program using this command (note the name of the output program and the name of the location of the input file):
gcc -o MyGPIOTest retrogame.c
and test the program by running it
sudo MyGPIOTest
Ctrl-C to quit the program and adjust as needed.
Instead of needing to run this software keyboard every time, let's have it automatically start on boot. Edit rc.local, using this command:
sudo nano /etc/rc.local
and before the "exit 0" command, add in the following line (i.e. the compiled program location). This location may be different based on if you kept the Adafruit library in your downloads folder, or you used a different name for the compiled program. Also make sure to include the "&" at the end, which allows the rest of the boot-up sequence to proceed.
/home/pi/Downloads/Adafruit-Retrogame-master/MyGPIOTest &
Caveat
Even though this post mentions it's possible, I haven't been able to make it work without having a keyboard plugged in to the Raspberry Pi. I'm using Raspbian Jessie.