Adding rigidity and aesthetics to the simple arcade frame
/
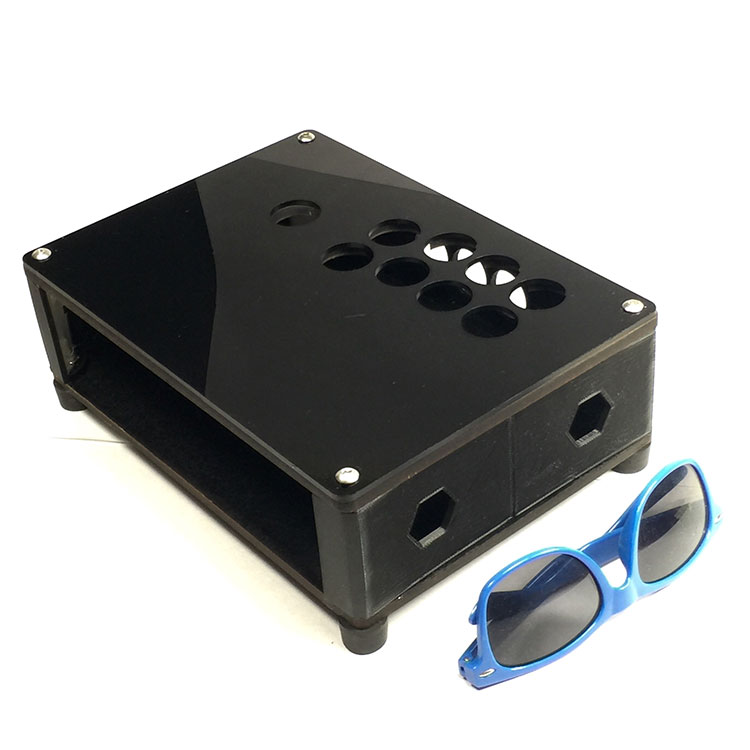
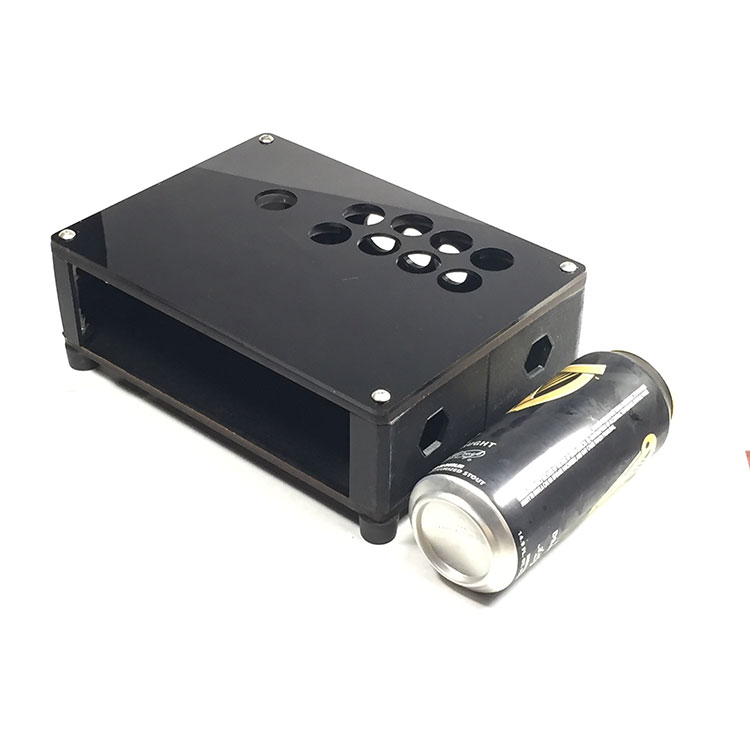
UPDATE 5/23/2016 - Added a front panel and removed hexagonal holes on the sides. Files uploaded to: thingiverse.com
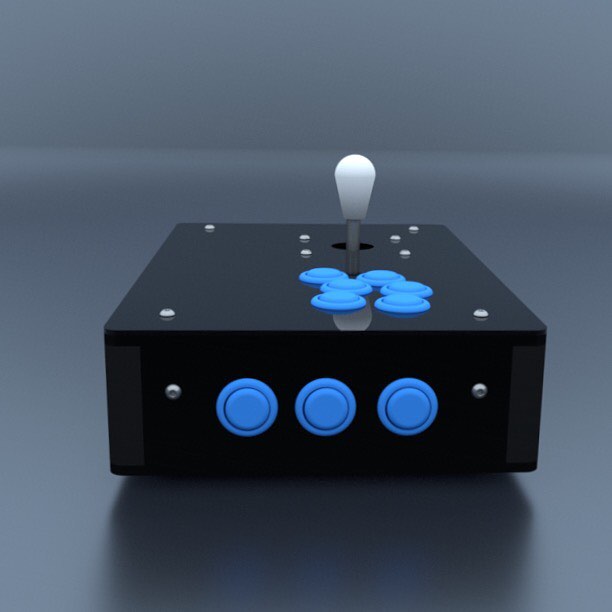
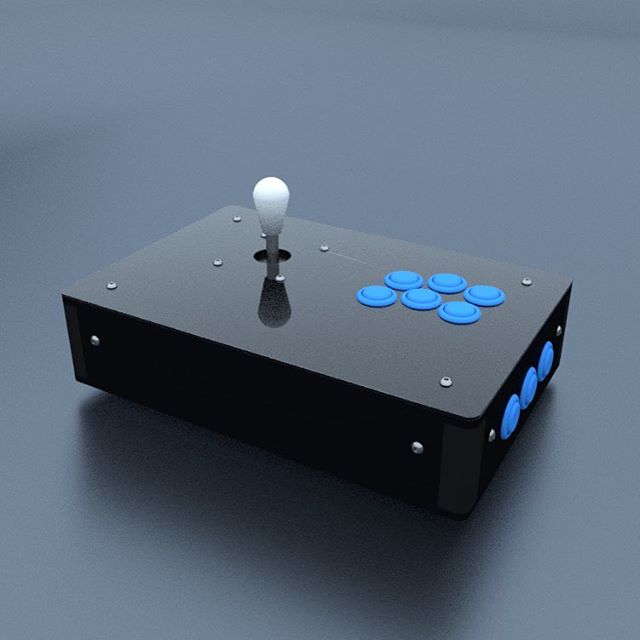
This post covers some structural improvements upon the work we did in Part 1 and Part 2. The ultimate goal is an arcade style controller that can be reproduced by anyone at low cost. For now, 3D printing combined with woodworking / laser-cutting seems to be the best compromise.
My attempts to 3D print the whole frame have been mixed. Affordable consumer 3d printers have a hard time producing nice surface finish on large parts. Furthermore the trade-off between print time and part strength make it uneconomical. The wall thickness needs to be significant to withstand button mashing, but print time increases very quickly with surface area so a thick wall could take over 2 times the time to 3D print. For these reasons, a hybrid wood and plastic design allows each to by made in less time while achieving better strength at low cost.
Frame structure
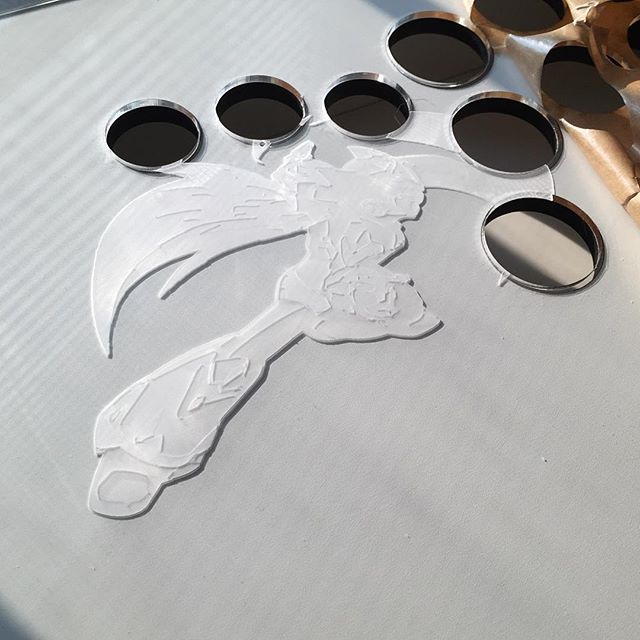
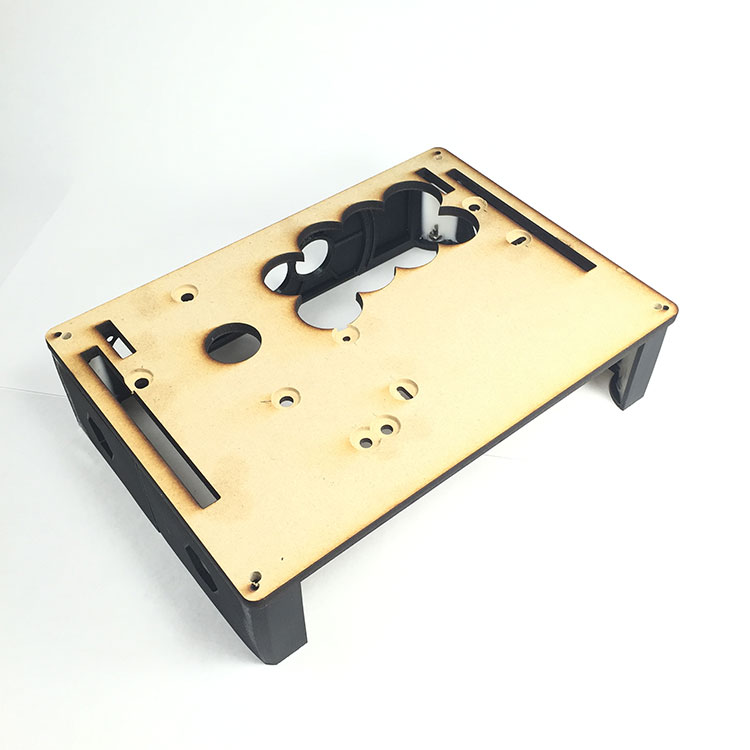
The frame is two pieces of 1/4-inch Medium Density Fiberboard (left over from another project) sandwiching a 3D printed frame skirt. Anything can be used instead of the MDF but MDF has the added benefit of being easily laser cut which simplifies creating button layouts. If you need a top plate don't hesitate to ask, I can have them drop-shipped to you. The top MDF plate has mount points for the joystick which are counter-bored with a forstner bit. This allows for a 1/8-inch acrylic top plate to be flush on top. Additionally, I covered the bottom plate with adhesive backed felt.

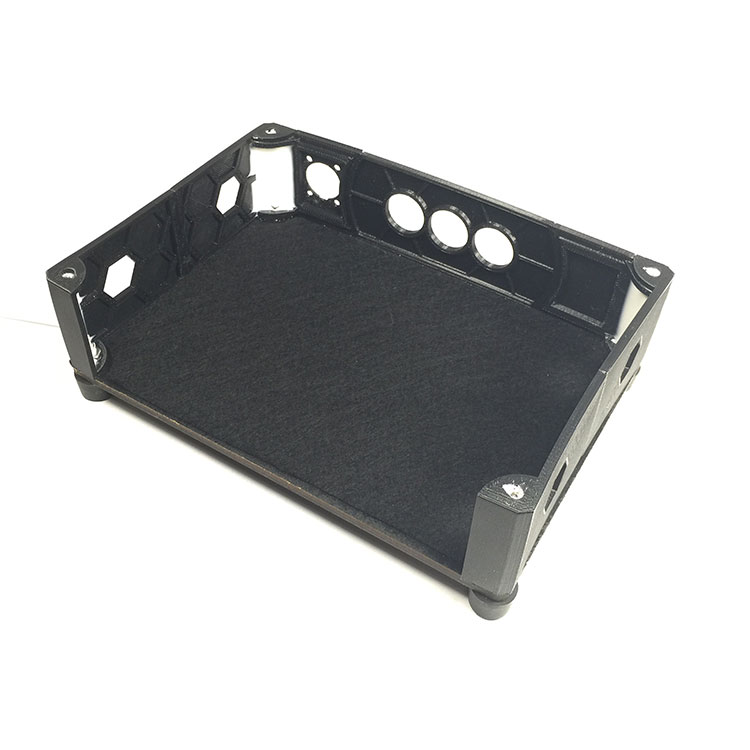
Resin reinforced corners
Eight screws hold the entire frame together, which makes it critical that those mount points are very strong. As such, the resin I use is poured into each of the 4 corners and left to cure. The end result is very rigid structure fused to the 3D printed skirt. As a bonus, nuts are cast inside as low cost inserts. Extra rubber feat are used during curing to provide good seals around the screws.


Until next time
Send me pictures of your custom builds and leave a comment with feature requests. If you need help, need a part, just some screws, or entire frame: let me know. Happy to help how I can.