Simple and fast 3D printed and wood arcade stick build
/


Building an arcade stick can get expensive fast, and sometimes there just isn't any time before your friends come over. If you've got a couple hours on a 3D printer, download the files below and build your own. While it prints, drill holes in an extra piece of wood for the joystick and buttons. There's no time as it is! Let's make robots do half the work.
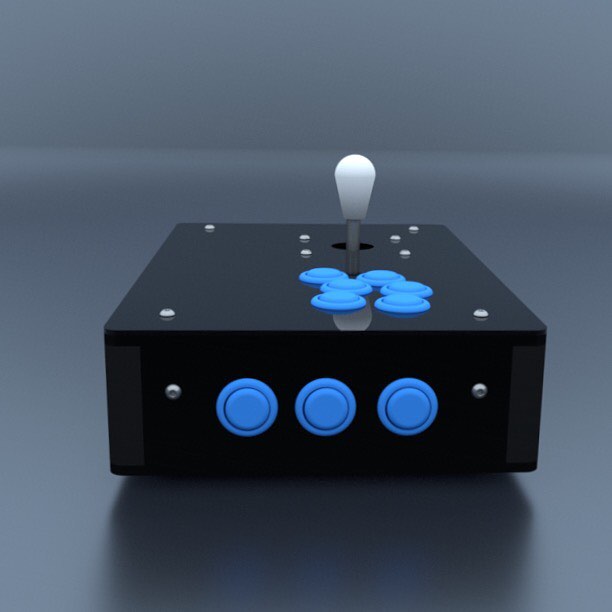
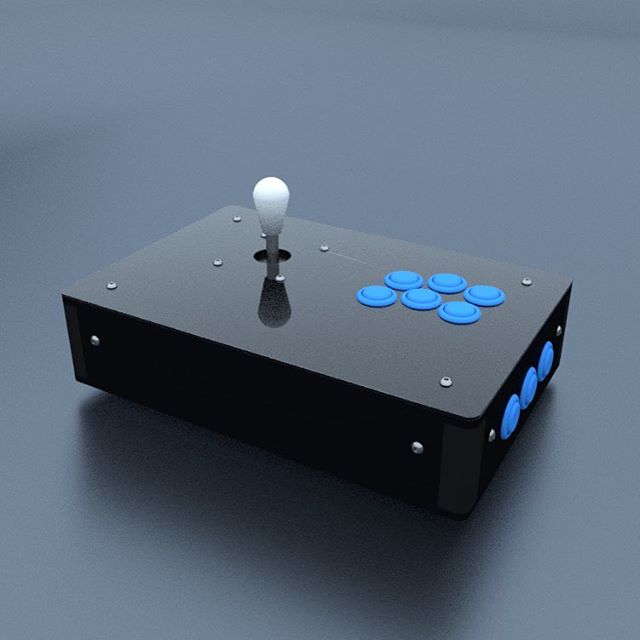
This minimalist build was inspired from spare laser cut control platforms I had on hand. My first arcade stick was also a quick and dirty build so I took a few queues. The 3D printed components were optimized to print quickly and without support material. They're sized to fit on a small print platform and match the spare piece of MDF I had. ABS is easy to fuse together, drill, and sand so there are a lot of options moving forward.
The 3D printed components work best with top control surface width of 6.875 inches, but they can be easily adapted for whatever size piece top plate you have on hand. The minute size lends itself to lower-end 3D printers but it assumes the pieces will be joined together to form the larger pieces. This is why I used ABS as it fuses together easily with an acetone/ABS slurry, while being considered a structural plastic.
Materials
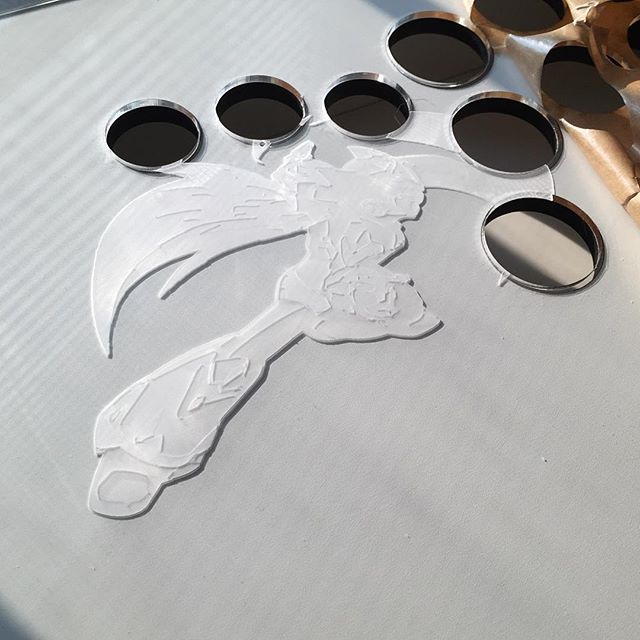
- Top plate 6.875 x 9.75 x 0.25-inch ( l x w x h)
- 3D Printed sides, download here
- nuts and bolts #10-32 7/8-inch
- drill bits (stepped drill bit makes life easier)
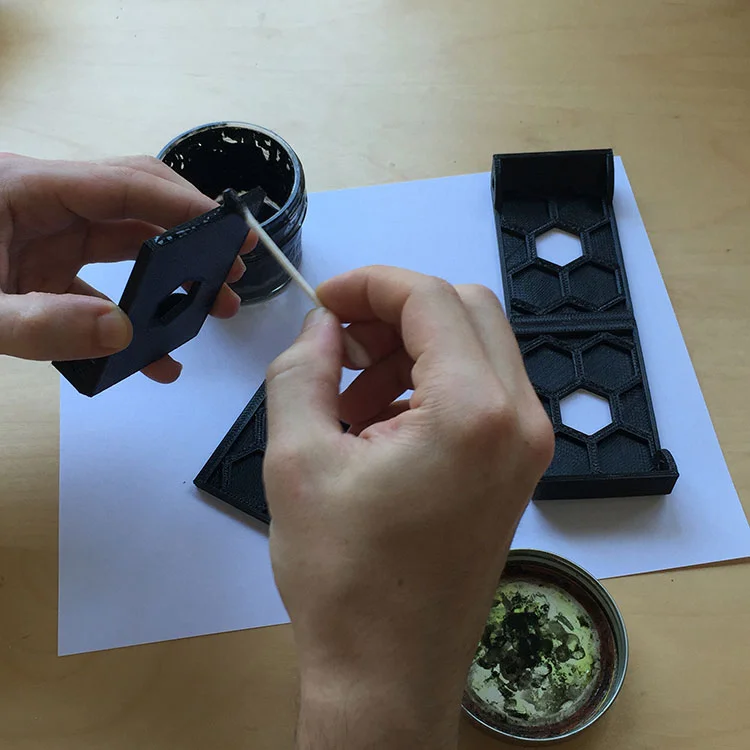
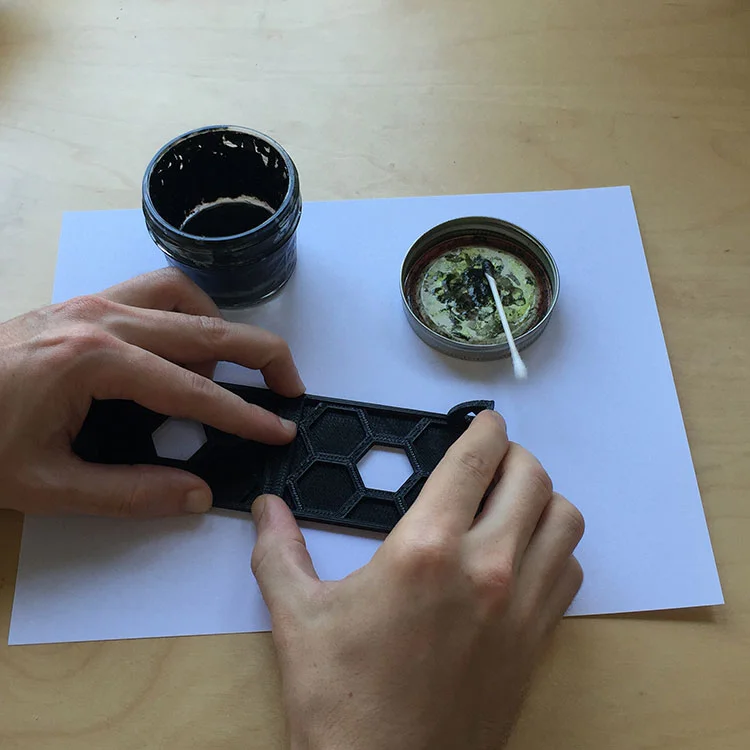
Fuse sides
Using a q-tip to apply an acetone/ABS slurry, I fuse together two sides by holding them tightly in place for 30 seconds. Afterwards I spread a little more over the joint and leave to dry undisturbed for a couple hours.

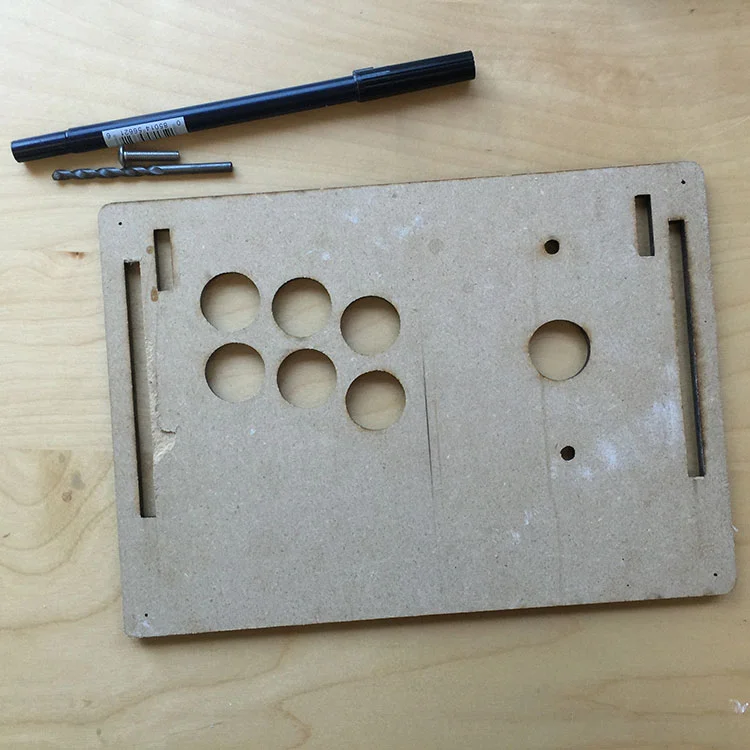
Drill holes
The 3D printed parts have 5mm holes. I had #10-32 button-head screws on hand so used those and chose an appropriate drill. A marker was used to transfer the holes from the 3D print to the right locations on the control surface.

Fasten Frame
Screw it together and you're done! Simple, fast and ready for modifications.