Adding a rear panel to the simple arcade stick build
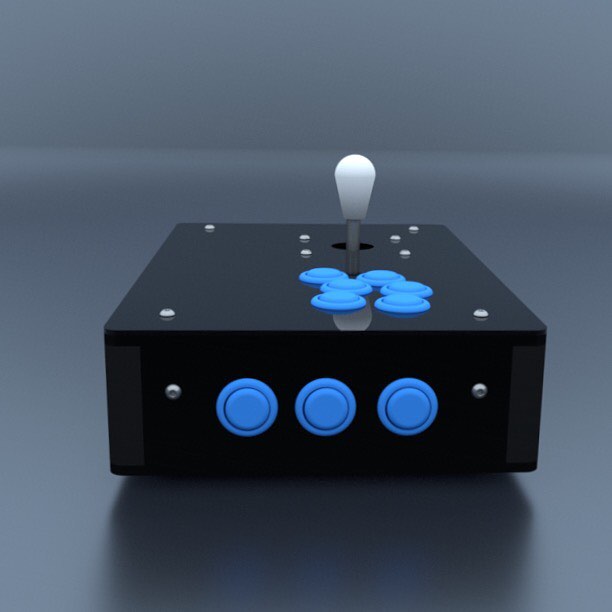
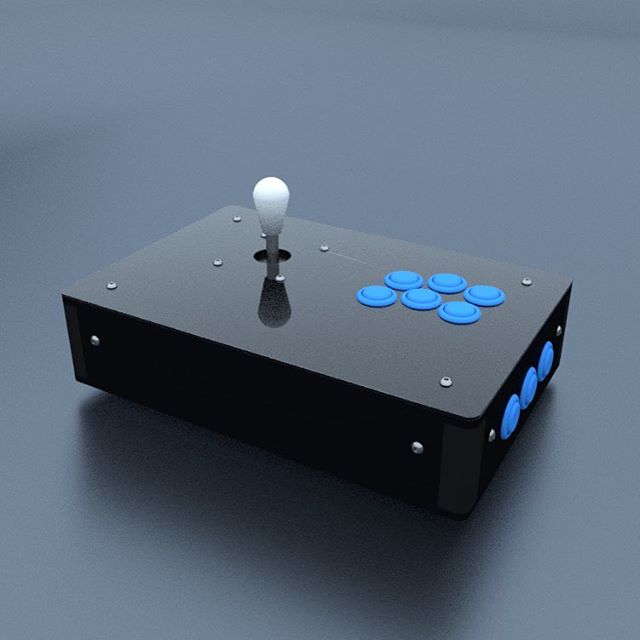
/The simple and fast 3D printed and wood arcade stick is pretty good but can be better. A USB passthrough port would be nice, as well as start, select, and coin buttons. Plus the overall structure would be stronger if they were connected together. No problem, let's 3D print it and improve the design! Click the following button to start:
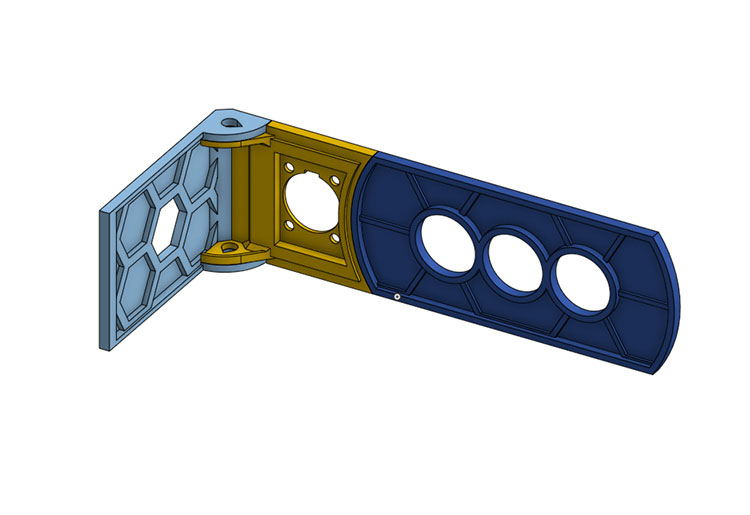
Note you can mix and match the two corner styles depending on your build needs. For example, you could mirror the passthrough-corner to fit two Neutrik ports, or use two blank-corners for a wireless arcade controller.

3D print
Printed at 0.3mm layer thickness, loose infill, and in ABS plastic. The button holes are for the smaller 24mm arcade buttons I'm using throughout the build.


Fuse together
Fasten the two rear corner pieces to the sides using the same screws. This will help keep the pieces straight while drying. Fuse together the back panel parts by applying the acetone+ABS slurry. I suggest using a piece of paper to protect the surface you're working on while you keep press the pieces together. The easiest is to apply generous amounts to both sides of the middle panel. Hold firmly in place for 30 seconds keeping everything as flat as possible. Optionally add a bit more slurry on the seams afterwards.


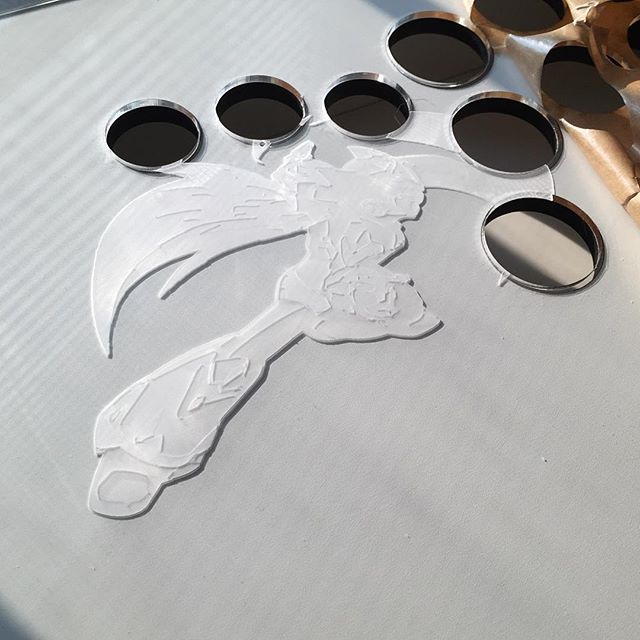
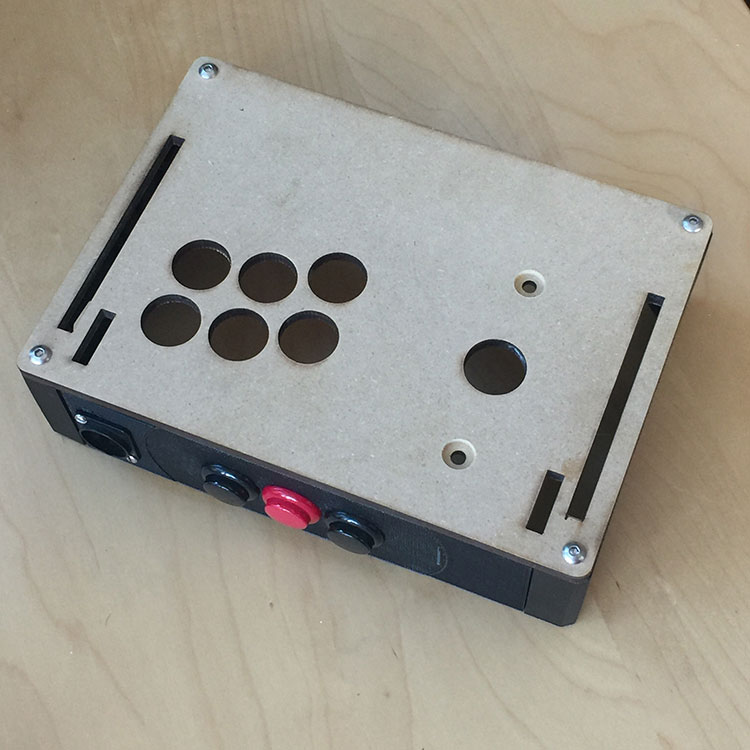
Inspect and assemble
The acetone takes couple hours to evaporate completely leaving the ABS fully hardened. After 5-10 minutes however, the parts should be dry enough to handle. Inspect the seams that there are few to no voids and there is good adhesion over the entire mating surface. During the first few minutes, the plastic will easily bend so care should be used. That's about it. Place your components and start planning what's next.


Part 3
In the next part, we strengthen the frame and spruce up the aesthetics