3D Printing molds for custom joystick balltop spheres
/
Often the suggestion to 3D print molds comes up because the alternative is to make them by hand. Although conceptually a great idea in practice it’s quite difficult to create a mirror smooth finish on a 3D print. There will always be layer delineations by nature of the 3D printing process. A mirror finish is practically impossible without smoothing and secondary operations. Moreover, a non-flexible 3D printed mold makes it tricky to remove the part after the resin is cured. These are some of the reasons why silicone has been traditionally used in small to medium quantity castings for decades, so why reinvent the wheel? Even though your home 3D printer isn’t optimal for making casting surfaces, that doesn’t mean it’s not useful in the casting process. Traditionally, a simple cardboard box or paper cup is used to contain the liquid silicone around the master part during curing. Instead, I tried 3D printing the “box" to optimize material use, maintain uniform mold thickness for higher quality parts, and be able to make complex alignments trivial.


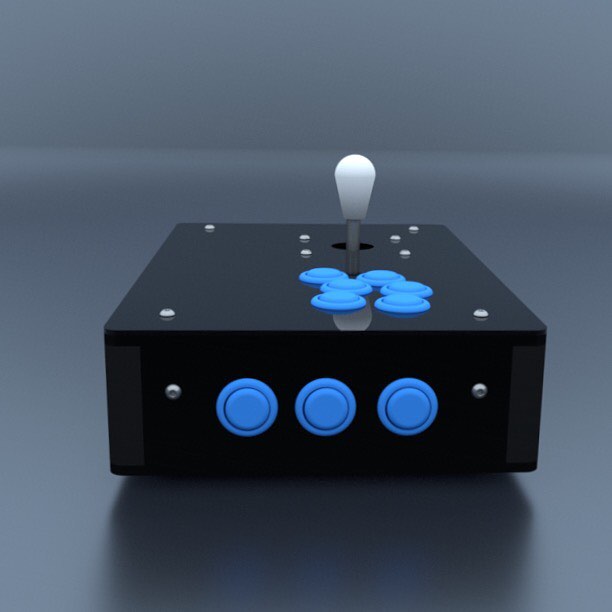
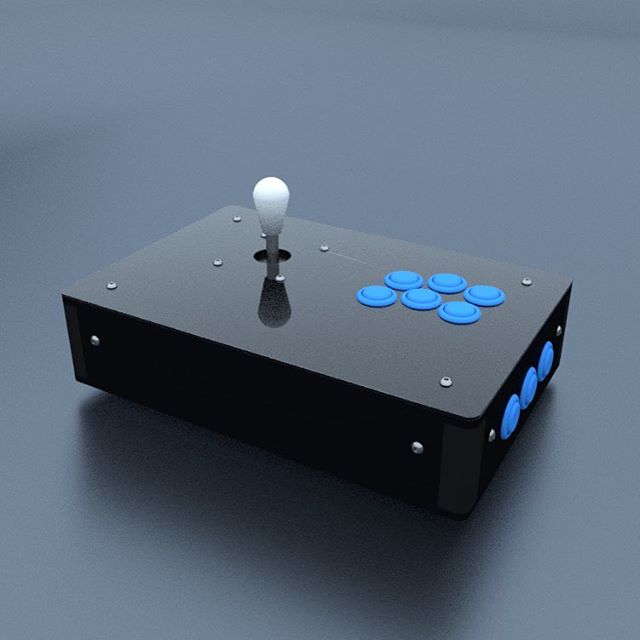
Nothing worth having is ever easy and this project’s stringent requirements tested my patience many times. The idea was to embed a skull in the middle of a clear sphere with a threaded insert to act as arcade joystick ball top. Not only did the mold have to be perfectly smooth to preserve clarity on the sphere, but it also needed to be aligned with the threaded insert so that the ball top sits straight on the joystick. For added difficulty, the lightweight 3D prints to be embedded tended to float on top of the resin and the heavy brass inserts sank, so the manufacturing process had to be robust for a variety of materials, sizes, and embedment depths. Doubt stared at me in the face many times trying to do this DIY style and without much casting experience. Waiting 12 hours for each batch to cure was much worse than waiting for my 3D prints to finish!
To make a perfect sphere mold cavity I used a 1.5-inch polished acrylic sphere suspended inside a 3D printed enclosure. The polished acrylic sphere was stumbled upon years ago at a local plastic supplier but it can be ordered online practically everywhere:


The polished acrylic spheres are great because they have no seam lines as well as being inexpensive. The next problem was how to suspend the sphere so that the silicone could flow all around. To accomplish this I used a belt sander to carefully add a flat area to the master sphere, approximately 15mm in diameter. This area was used to hot glue a 3D printed bracket.
Liquid silicone was poured inside the mold to make a negative of the sphere. The primary reason for 3D printing the enclosure instead of making a quick one from a box is because I needed to precisely place and orient items inside of a sphere. Getting the molds to print relatively quickly while being able to assemble, align, and come apart from the cast easily was quite the challenge. Many trials and errors were made regarding just the 3D printed mold but ultimately 3 revisions were fabricated to reach a reusable prototype. Also, I got carried away with some benefits of 3D printing the mold such as being able to make the mold thickness uniform and minimizing material. These two aspects slowed this project and diverted attention from the real issues: the silicone and resins.


Long story short after ironing our most of the 3D printer issues, I encountered more problems when mixing the resins: the first pour of silicone was from an expired batch, the second and third times it was too cold so it clumped, and the forth time I didn’t have enough. Even with these mishaps I managed to get one working mold to cast a few decent joystick ball tops. Once the mold was complete I tried two different resins which resulted in different effects. The EZCast resin cured more yellow and with bubbles. The Little Windows resin stayed colorless and with a lot less bubbles. Many variables remain to test and play with but my research has suggested that degassing by means of a vacuum chamber will go a long way in making this process easier. The main trick here, for my application, was to lubricate the shaft that holds the threaded inserts inside the resin. This prevents any resin from sticking and sealing the shaft inside the sphere. I used white lithium grease which allowed me to easily turn the shaft out after the twelve hour soft cure. Here’s the grease I used (I’m not sure it’s the best to use in this application but it seemed to work fine here). After trimming the excess flashing the first ball tops came out rather nice!


The results so far are very promising. The problems that remain (e.g. flashing, embedding consistency, bubbles inside 3D prints, etc) seem reasonably attainable. In the short term a vacuum chamber is my next purchase to eliminate all remaining bubbles in mold and cast part. I can't wait for more resin to arrive and try embedding more things, I've got a few ideas lined up already.