
Tie Fighter Conversion (H107L)
/Using an inexpensive Hubsan X4 indoor drone for parts, 3D print a working RC Tie Fighter!
Preparation
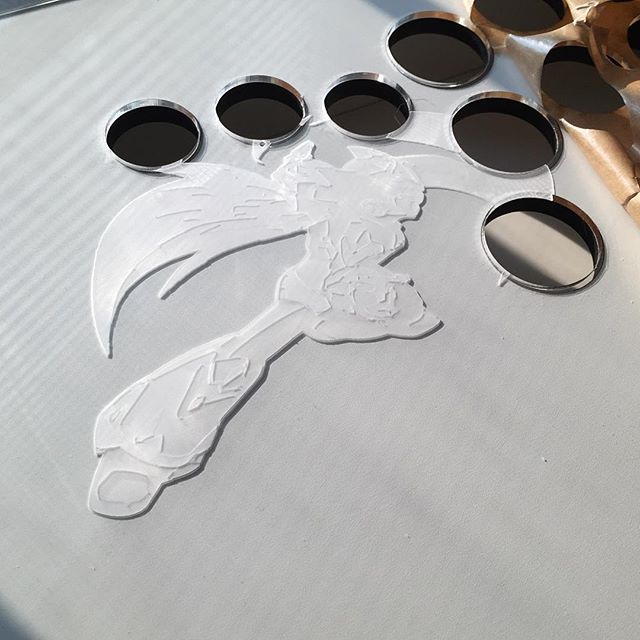
It's important that the plastic is ABS because the parts are fused together using acetone. Other plastics may not react well or be dangerous. Moreover, ABS is very easy to drill and machine which makes detailing and finishing a breeze.
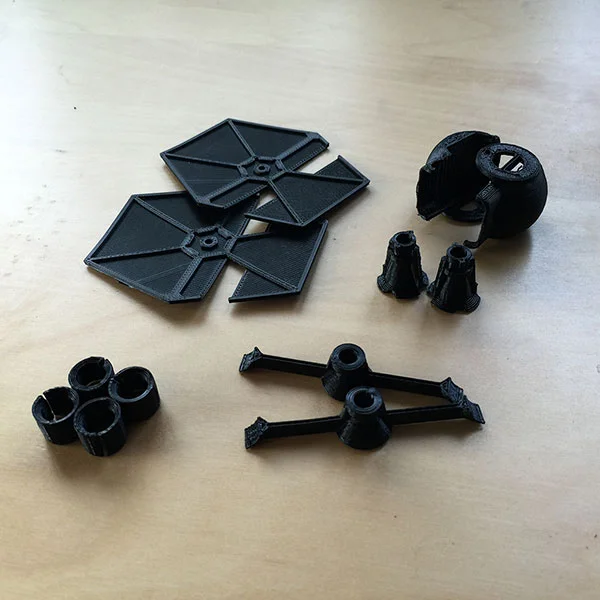
3D Print in ABS plastic:
- 2 x hull
- 2 x arm
- 2 x motor arm
- 4 x motor mount
- 2 x wing
Order Parts:
Mix slurry:
Doesn't matter which name you call it by, disolving ABS in acetone creates a powerful mixture which has a variety of uses in the 3D printing world. Source: Hoffman Engineering
1) Assembling Frame
Use the slurry to fuse together the arm with motor-arms. Hold in place for 30 seconds, then place vertically and let dry for 15 minutes. If a lot of slurry was used, drying time could be affected. Take your time to align the parts using the details in the model as guides.


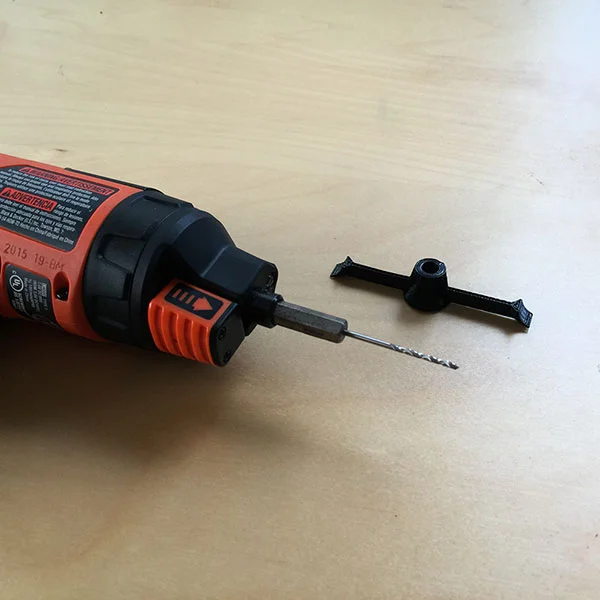
2-A) Routing motor wires: drill holes (optional)
We offer two options to run the wires from the PCB to the four motors. Drilling holes hides the wires better but requires a small drill bit. Jump to step 2-B) for the drill-less option.
Drill two holes near the bottom of the left and right motor-arms. These will be used to thread the motor wires through. Drill bit is 1/16-inch [1.6mm] but slighter larger or smaller should be fine too.

Remember the drone's diagonal motors spin in the same direction. As such, use the wire colors to indicate which is which.


2-B) Routing motor wires: cutout
Another option to routing the wires is using the existing cutouts. Besides not needing to drill, the wires do not need to reach as far.


Use the slurry to fuse together the arm to the hull. Carefully align the arms and do not rest on side until completely dry. Otherwise, they might twist and misalign.


3) Smoothing (optional)
For added strength, we smooth the assembled components in an acetone vapor bath. This fuses the exterior surface together, blending the layer lines and forming a rigid outer layer.


To be continued...
- Use slurry to fuse appropriate motor-mount (7 or 8.5mm)
- Solder motor wires to PCB
- Use slurry to fuse wings to main body: holding arms aligned with propeller cutouts while it dries
- Dry a few hours, test
- Paint
- Fly!


FREE SHIPPING