Nexus 7 Car Install - ROM and Software Information
/Nexus 7 Options

We hope you find this guide useful for your car installation of the Nexus 7 tablet. It's a result of a few weeks of research while we worked on the Nexus 7 Double DIN mount.
Choosing storage and cellular options
The Wi-Fi-only model has a GPS chip for navigation, which isn’t typical for tablets without cellular.
Use an SD card reader for storage expansion and easy copying of files to your computer rather than paying more for the 32GB model.
Most iPhone or Android phones are able to ‘Personal Hotspot’ and charge via the USB hub while using Timur's ROM. This shares the data connection with the Nexus 7.
2013 vs 2012 models
1920 x 1200 screen resolution
200 x 114 x 8.65 mm (7.87 x 4.49 x 0.34 in)
Note: If you want to run Timur's ROM - the 2013 version is available for ~$30 USD
- 1280 x 800 screen resolution
- 198.5 × 120 × 10.56 mm (7.81 × 4.72 × 0.42 in)
Where to buy
Both models are available new on Amazon
$189 - 2013, Wi-Fi 16GB
$114 - 2012, Wi-Fi 16GB, Refurbished
Craigslist and you can find them under $100.
Timur’s USB ROMs
Although you can install a Nexus 7 in your car using the standard Android software, the installation will not be nearly as feature-rich compared to installing Timur's ROM. Although I am not affiliated with Timur in any way, I am very thankful for his contributions to the Android community. With his ROM, you gain the following features (and others):
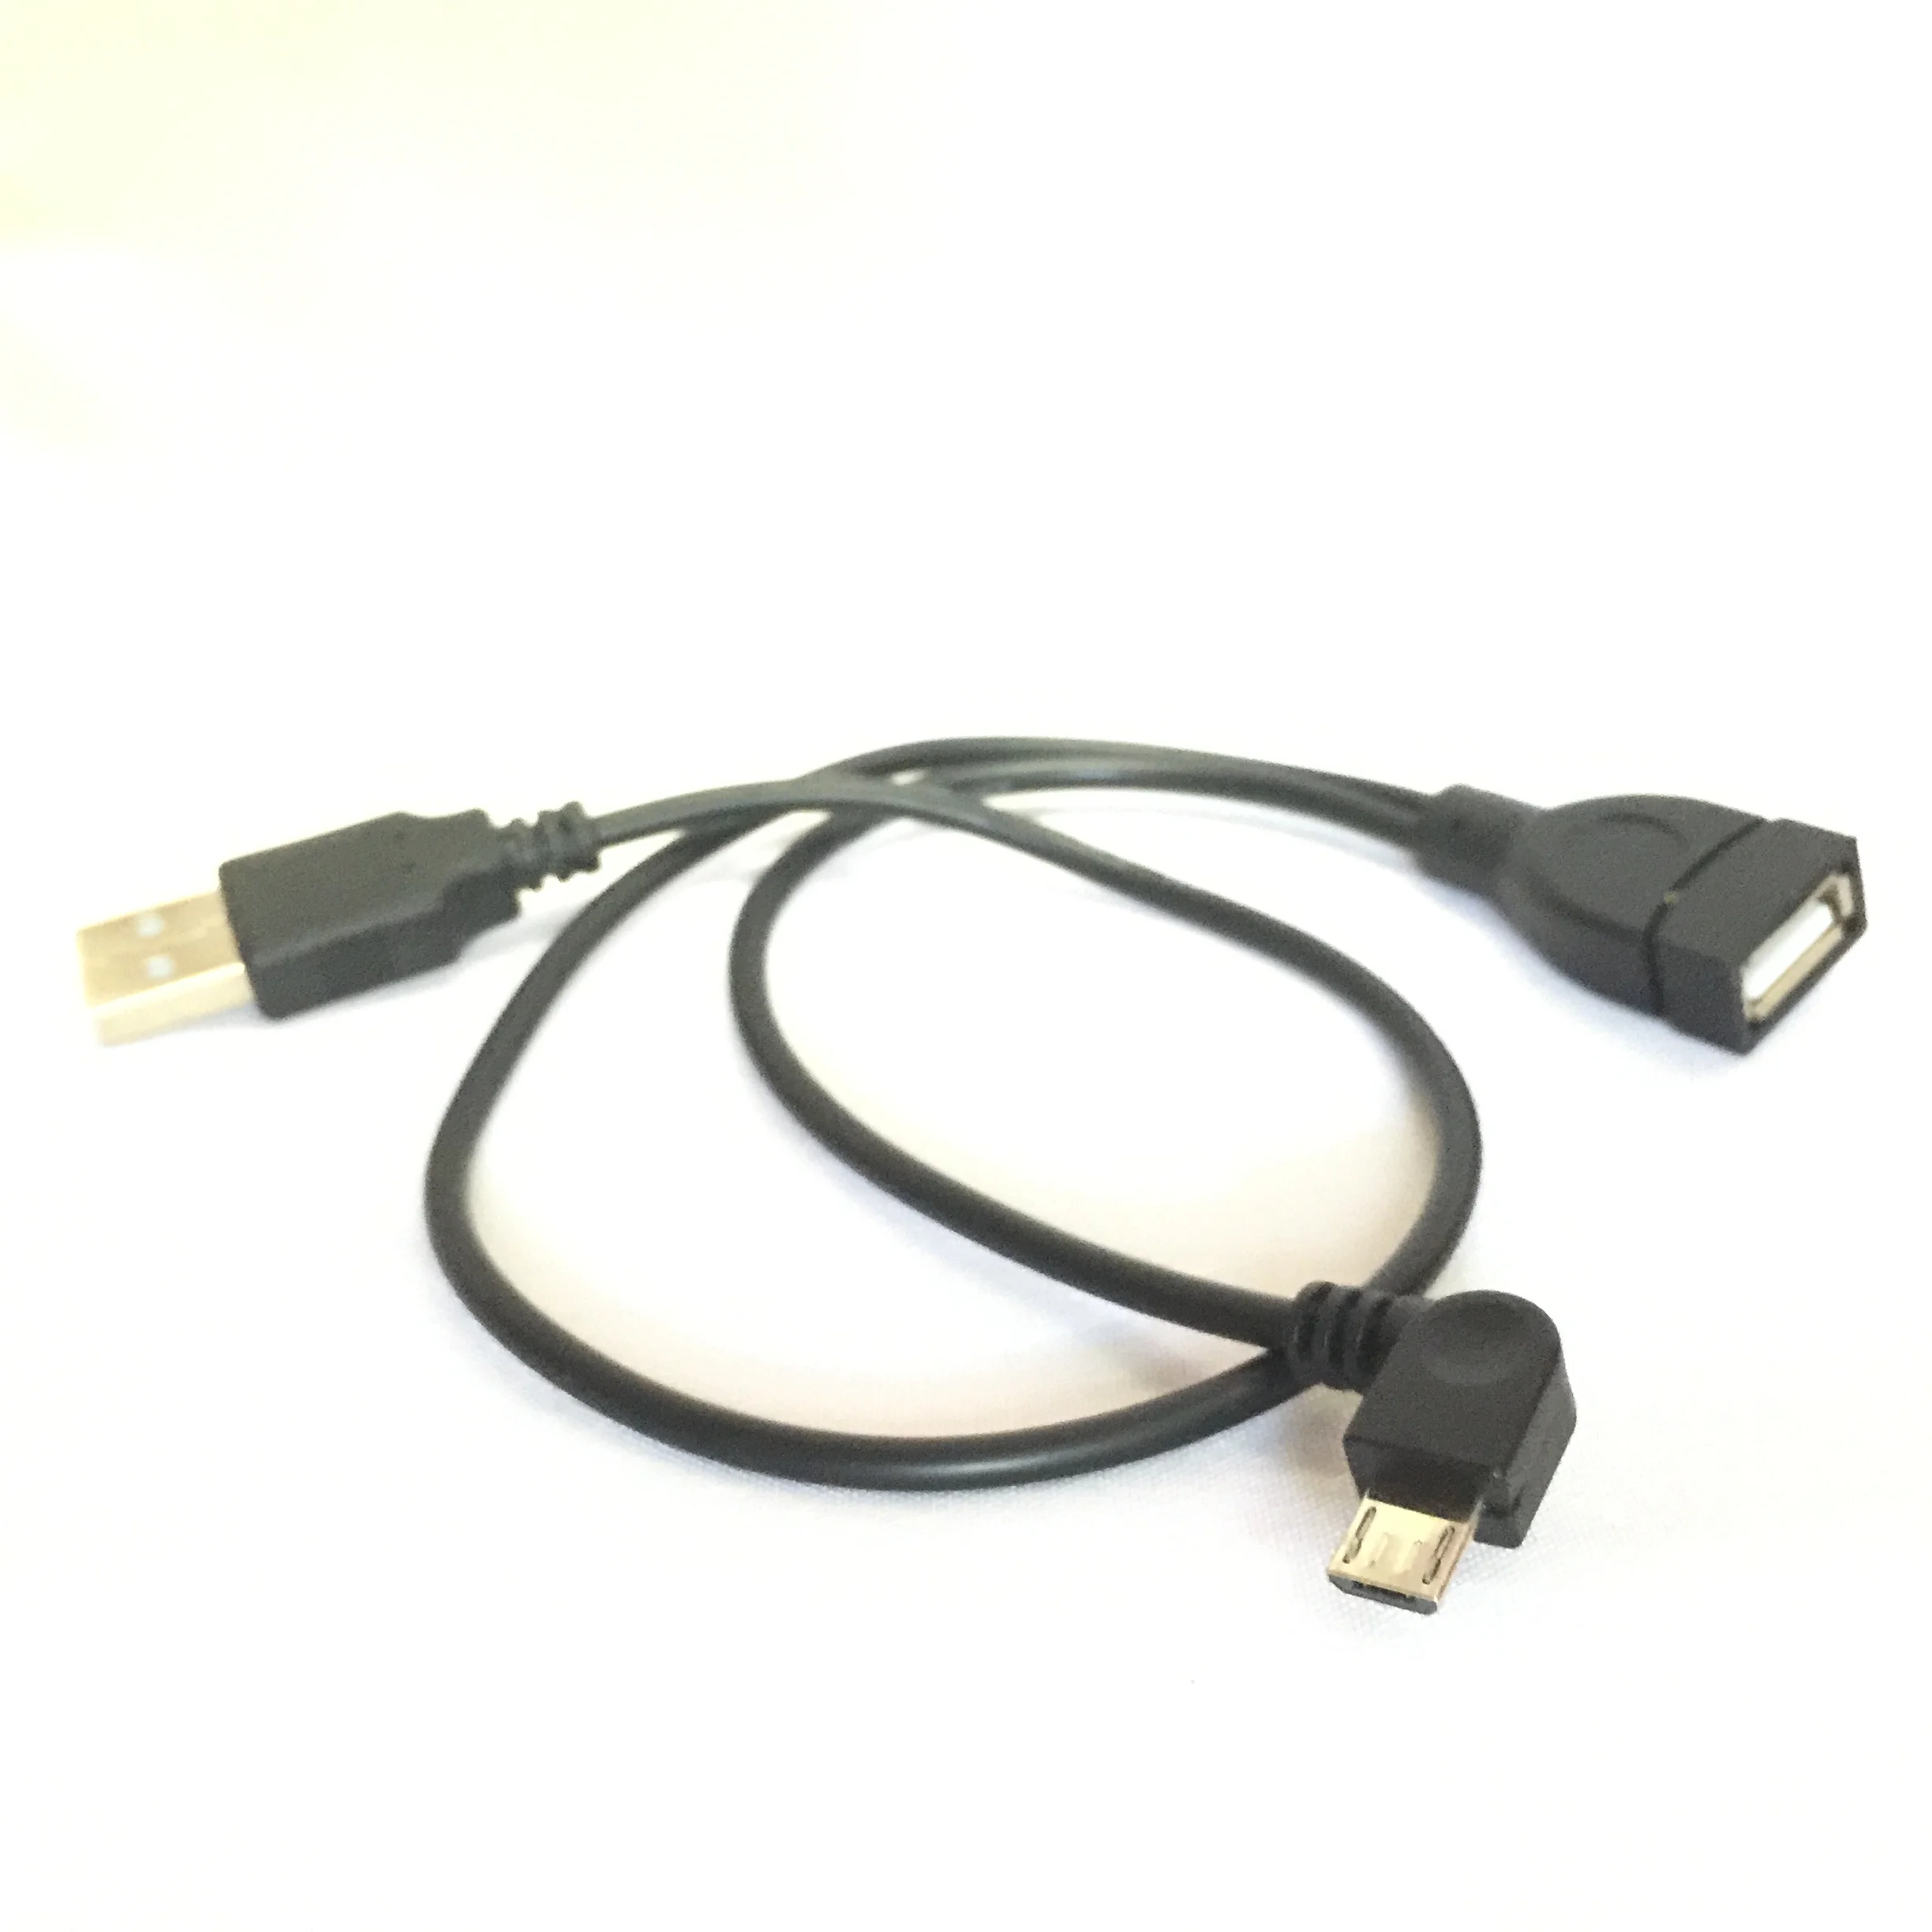
- USB Host Mode - Plug in to a USB hub and interface with up to 7 devices.
- Fast Charging - Up to 1800mA, while connected to the USB hub.
- Fixed Install Mode - Wake / Sleep on power events.
- Audio over USB - With the use of a Behringer or similar device.
- Internet over USB - Tether your phone and share the internet connection.
Nexus 7 2013 ROM
- Custom ROMs (OS) based on CyangenMod 11
- Android 4.4.4 (KitKat) and 5.0.1 (Lollipop)
- https://timur.mobi/ (~$30 donation for download access)
Nexus 7 2012 ROM
- Custom ROMs (OS) based on CyangenMod 10.1
- Android 4.2 (Jellybean)
- http://mehrvarz.github.io/nexus-7-usbrom/ — No more official support. Some copies are floating around Android developer forums.
- You should be able to quickly and easily find the ROM searching THIS FORUM.
- You should be able to quickly and easily find the ROM searching THIS FORUM.
Download our archived version
Long time ago this copy was freely available directly from developer: "cm-10.1-20130817-USBROM-grouper." Since then, the developer has officially stopped development and moved onto new versions. We can't find this ( old but not obsolete and ) wonderful piece of software anywhere so we've uploaded it here.
You'll need free unarchiving software like Unarchiver. We split the file into parts to mitigate bandwidth costs. Sorry for the inconvenience.
Installing Timur’s USB ROM on a Nexus 7
Developer Access
- Go to Settings > About tablet. Find ‘Build Number’. Tap it 7 times in a row.
- Go to Settings > Developer Options. Enable USB Debugging over ADB.
Google ADB Tools
In order to flash Timur's ROM, you will need 2 Android developer tools that enable your computer to communicate with the tablet - adb and fastboot. The instructions are a bit different between Mac and PC, but numerous guides are available online:
- http://lifehacker.com/the-easiest-way-to-install-androids-adb-and-fastboot-to-1586992378
- http://developer.android.com/tools/help/adb.html
- http://wiki.cyanogenmod.org/w/Adb
- http://wiki.cyanogenmod.org/w/Fastboot
If you encounter ‘command not found’ errors, consult this guide.
OEM Unlock
Now that you have adb and fastboot, type the following commands in your terminal window to unlock the factory protection
> adb devices
> adb reboot bootloader
> fastboot devices
> fastboot oem unlock
Use the volume keys to cycle through and accept the disclaimer.
The Nexus 7 will reboot and completely reset. You will need to re-enable USB debugging (from the previous step).
Recovery Mode
There are two primary methods to have the device enter Recovery Mode. Using ADB, or rebooting with the Volume Down key and Power button.
ADB
Using terminal:
> adb devices
> adb reboot recovery
Volume Down / Power Button
If your tablet is on, turn it off.
Press and hold the Volume Down button, then press and hold the Power button at the same time until the tablet turns on. You'll see the word "Start" with an arrow around it.
Press the Volume Down button twice to highlight "Recovery mode."
Press the Power button to start Recovery mode. You'll see an image of an Android robot with a red exclamation mark and the words "No command."
While holding down the Power button, press and release the Volume Up button once.
Note: If your tablet becomes unresponsive at any point during these steps, you can restart it by holding down the Power button for several seconds.
Factory Reset
Have the device enter Recovery Mode as outlined above.
Press the Volume Down button twice to highlight "wipe data/factory reset," then press the Power button to select it.
Press the Volume Down button seven times to highlight "Yes - erase all user data," then press the Power button to select it.
Select the option to "wipe cache partition" as well.
After the reset is complete, select the option to reboot your device.
Flashing ROMs
This part is a little bit tricky, so familiarize yourself with the instructions before starting. Make sure that the device doesn't get unplugged from the computer while flashing the software images, and if anything goes wrong, you can always use the instructions below to enter Recovery Mode and try again.
Update the recovery image as per the instructions, and then flash Timur’s ROM along with Google apps package within 1 recovery session. I used 'adb sideload' to flash the ROM, but there are other methods that are outlined in the links below.
Flashing Google Apps
http://wiki.cyanogenmod.org/w/Google_Apps - Instructions
http://www.teamandroid.com/gapps/ - Download mirrors
Use gapps-jb-20130812-signed.zip for grouper and tilapia
Consult the first link for 2013 Nexus models, and match to the appropriate Android version.
If you are using terminal and adb sideload - it will look something like this:
> adb devices
> adb reboot recovery
> adb sideload <insert recovery image filename here>
> adb sideload <insert gapps image filename here>
Must have apps for Nexus car install
Pro Tip: In your browser window, login to the same Google account that is used on your Nexus 7. You can then trigger the download on your computer, and have them automagically show up on your Nexus.
Car Integration
- Torque Pro - For those interfacing with the car's OBD2 port - this will add gauges, clear trouble codes, and many other functions. $5. There is a free version too.
- DashCommand - Similar to Torque Pro
- AutoGuard - Use with a backup camera or other webcams. Record video and store on SD card.
- Dashcam - Super simple Dashcam app. I use it with the backup cam.
- Apex Launcher - Reconfigure your home screen, lock screen, and many other options. Lots of launchers out there.
Navigation
- Google Maps (Navigation) - No explanation needed.
- How to use Google Maps offline.
- Waze - Another maps application that uses crowdsourced data for traffic.
Media
- USB DAC - Audio controls for USB audio out. Built-on to Timur’s ROM
- Apollo - Media player. Built-in to Timur’s ROM
- Spotify - Internet radio.
- VLC Player - Play almost any video format. Great for when you have them on the SD card.
Phone Integration
- These are all for Android phones, I'm still searching for iPhone solutions.
- Tablet Talk - Send SMS and make voice calls while your phone is in your pocket.
- Push Bullet - An alternative to Tablet Talk
- AirDroid - Another app that has similar functions to the ones above.