Tough DIY electronic project frames by resin infusing 3D prints
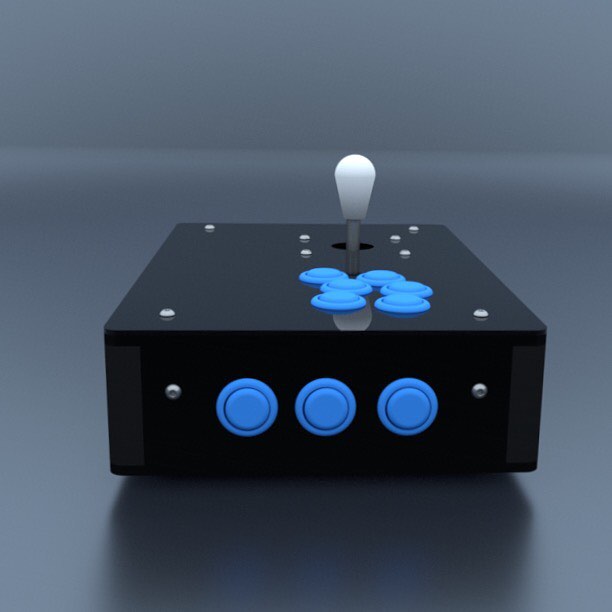
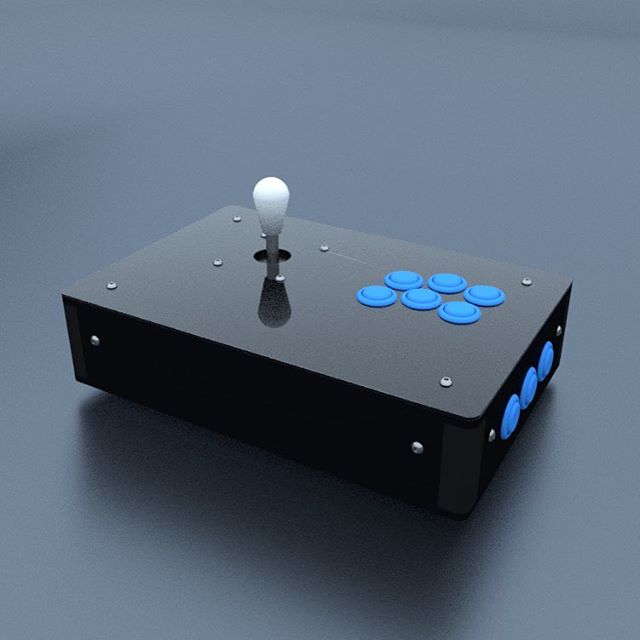
/Consumer level 3D prints are relatively weak and the plastic fatigues, easily which doesn't make it ideal for control surfaces. The repetitive stress of button mashing leads to failure. Casting plastics solves some of these issues but requires a lot of materials and mold making time. What alternative method exists that enables quick, sturdy, and expandable project frames? Answer: fill 3D prints with fast curing resin. The result is a very rigid structure with a plastic protective shell and the option for embedding threaded inserts.
Materials
- 3D printed hollow box corners in ABS plastic
- Acetone/ABS slurry for fusing pieces together
- Casting resin
- #10-32 approximately 7/8-inch long screw, matching nut and optional rubber washer
Method
The four corners are 3-D printed as three parts: two end caps and one center column. Nuts and bolts are fastened to both end caps using a rubber washer to make a good seal. Then the bottom cap is fused to the center column using an acetone/ABS slurry. The use of acetone is why ABS is needed as the material for 3D print, but an appropriate adhesive could be used instead. Once the plastic hardens again, water is used to test for leaks. Most of the leaks occur where the lid meets the center column so be generous with the ABS slurry to fill any gaps. These steps are repeated for all four columns.


Note: the first design made the bottom lid one piece with the column. This was convenient except for some lengths/sizes where it was impractical to hold the nut while tightening. This is why the design is symmetric lids as the screw and nut can be fastened easily together.
After the four columns were verified to be water-tight, they were placed in a container just in case new leaks appeared. The columns were filled with resin and while the resin was still liquid the top end cap with attached fastener was placed on top, resulting in the nut being submerged.


There was a problem with the top lids while making the set in the photographs: I didn't pour enough resin so it never submerge the nut. The resin did capture the bottom of the screw however, so I backed each out and removed the 3D printed lids. I've updated the files to include lids with overflow relief to prevent this from happening, as well as blank lids in case it does. In order to fix it the screw and nuts were fastened back into the resin but without a lid. Resin was filled to the top and once cured removed the screw thereby leaving the nut. After sanding down flat, the final step was fusing blank lids back on top.


Smaller assemblies
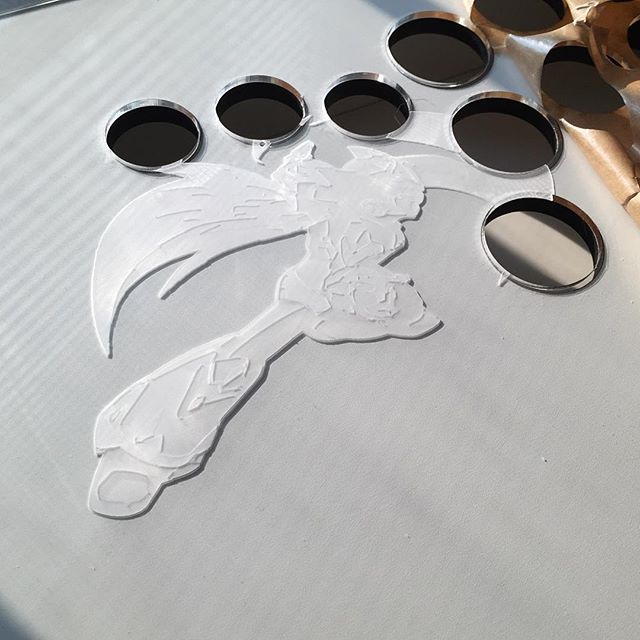
The corners photographed above use #10-32 screws, which is overkill for small assemblies. The same technique was applied to shrink down corners made for #6 screws and a single 24mm arcade button. Instead of a rubber washer, acetone/ABS slurry was generously applied around the screw to make a water-tight seal. My #6 screws were too long so a second nut was used to back them out a bit while the resin cured. The final modification for this mini-button was 3D printing the top and bottom surfaces instead of making them out of wood.


Future possibilities
I'm excited to experiment with different shapes, sizes, and how to cleanly mount an insert perpendicular to the print direction. This size is strong enough for an arcade controller, but can it scale up to larger assemblies? Can angles other than 90 be made? Making sure the 3D print comes out as water-tight as possible is important to save time, and holes printed perpendicular to print orientation can cause unevenness around the edge. I'd like to avoid post-processing, but perhaps drilling a hole after the fact is the easiest solution to create leak free holes. So much to try!
Thank you for reading my experiments and I hope you find the 3D printer files useful for your own. Let me know any suggestions or improvements that could be made in the comments below. My goal is to find a sustainable middle-ground where I can produce mostly free and a few inexpensive digital designs for you to build, modify, and iterate upon. Personally, I strongly dislike ads and don't think they're necessary. Content comes first. If you agree, let me know by supporting what I do.